One great memory I have of my childhood were all the homemade treats my mom made for us as kids. There was nothing better than walking through the door to the scent of homemade cookies or a fresh batch of muffins. Any troubles that may have happened at either school or work were immediately forgotten to the promise of a warm baked good in your belly.

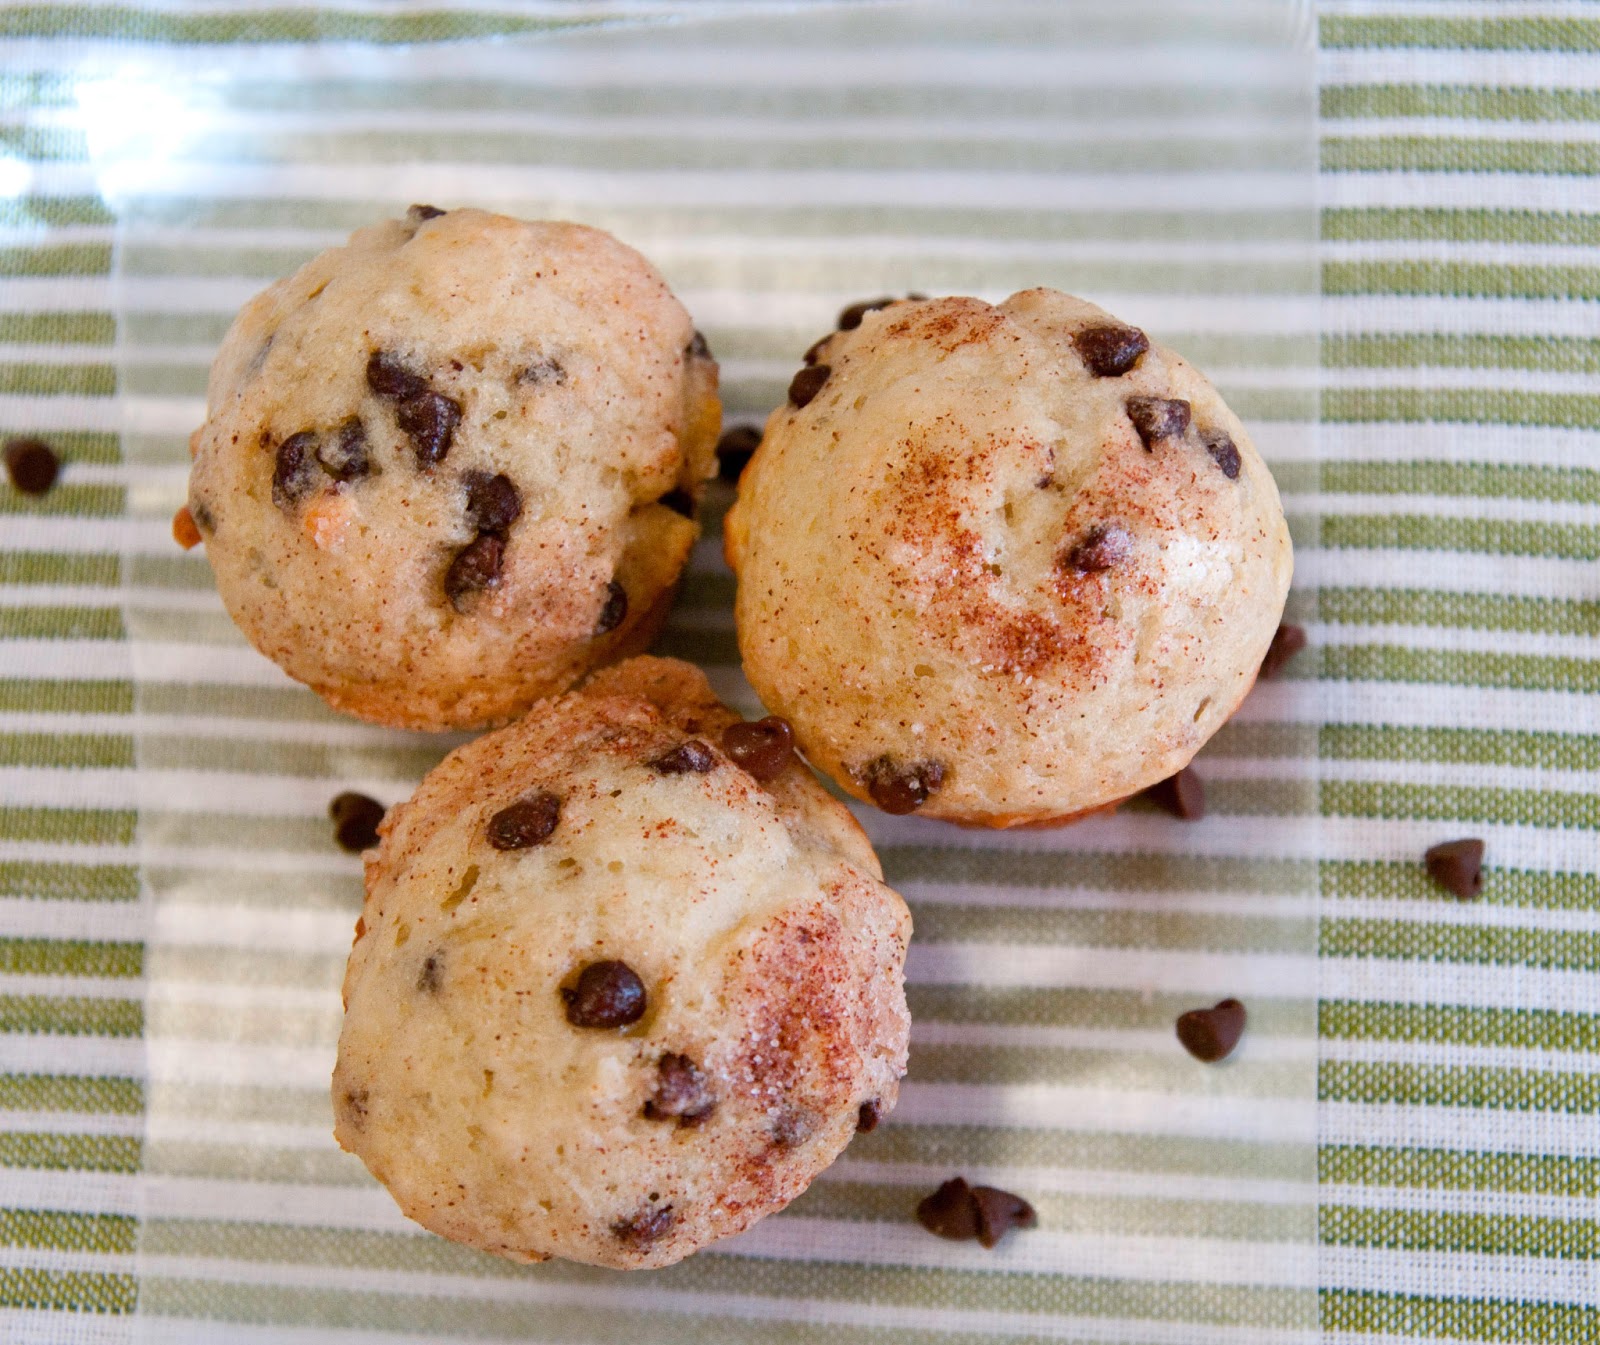
Banana Chocolate Chip Baked "Donut Holes"
Adapted from Janie's Kitchen
Ingredients
1 cup Mashed Ripe Banana (Roughly 2 small bananas)
1/2 cup Sugar
1/2 cup Fat Free Greek Yogurt
1/4 cup Unsalted Butter (Melted)
2 Eggs (Room Temperature)
1 teaspoon Pure Vanilla Extract
2 cups White Flour
1 teaspoon Baking Powder
1/2 teaspoon Baking Soda
1/4 teaspoon Salt
1 cup Mini Chocolate Chips
Topping (If Desired)
1/4 Cup Sugar
1 Tb Cinnamon
Directions
Preheat the oven to 325.
Using the electric mixer with whisk attachment, add mashed banana, sugar and Greek yogurt. Mix until incorporated.
Add melted butter, eggs, and vanilla extract, and mix.
Add flour, baking powder, baking soda and salt to the batter and mix until just incorporated. Do not overmix.
Using a spatula, fold in chocolate chips. With a spoon, scoop batter into sprayed mini muffin cups. Fill until 3/4 full.
Either sprinkle cinnamon sugar on before baking, or dip in melted butter and dip in cinnamon sugar AFTER baking. I did the first to save on calories, although I have no doubt that the latter choice is amazing.
Bake 12-15 minutes, until mini muffin is slightly springy and golden brown.